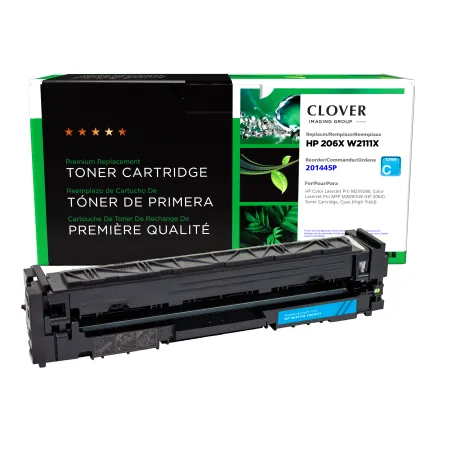
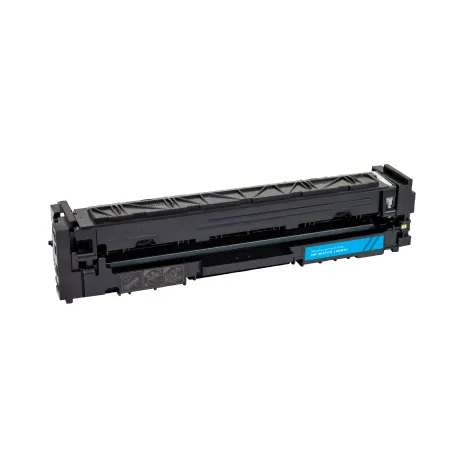
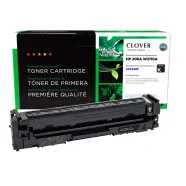
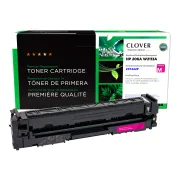
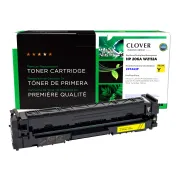
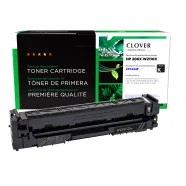
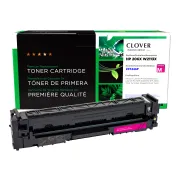
Clover Remanufactured High Yield Cyan Toner Cartridge (New Chip) for HP 206X (W2111X)

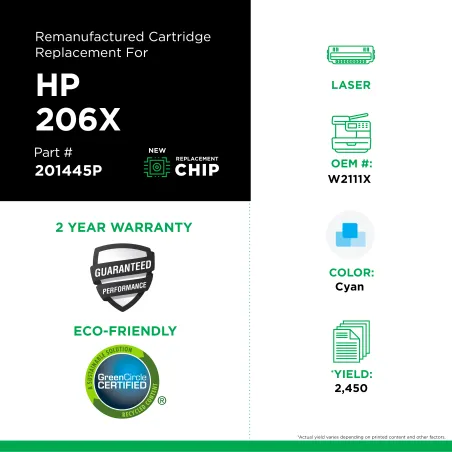
Clover Remanufactured High Yield Cyan Toner Cartridge (New Chip) for HP 206X (W2111X)

  • 201445P
  • Color Laser
  • HP - W2111X
  • 206X
  • Cyan
  • 2,450 Pages *
  • High Yield

How do I purchase these products?

RESELLER

If you are a reseller, please log-in or register to become a Clover dealer.

BUSINESS OR CONSUMER

Please fill out this brief form to be contacted about purchasing Clover products.

BUSINESS OR CONSUMER

Thank you for your interest!

Your request has been forwarded to your local Clover Imaging products dealer and you will be contacted within 2 business days.

Additional Product Information

Technical Specifications

Compatible with following printers:

Product Box Dimensions:

  • EA
  • 13 in
  • 4.125 in
  • 6.375 in
  • 2 lbs

Videos and Downloads

Product Related Videos:

  • Get Consistent Color Quality at Significant Cost Savings

Product Related Downloads:

Product Troubleshooting

Possible Troubleshooting

Step-by-step Instructions for Firmware Downgrade (Returning firmware to a compatible version)

Affected models: 
- HP Color LaserJet Pro M255 Series (W2110A/X-W2113A/X) Firmware File
- HP Color LaserJet Pro MFP M283 Series (W2110A/X-W2113A/X) Firmware File

Before proceeding with firmware downgrade the printer settings need to be set to the following:

Manage Updates Menu:
Allow Downgrade = YES
Check Automatically = OFF
Allow Updates = YES

The following are the steps through the printer menus to check/change settings.

For “Allow Downgrade” setting to be “Yes”:

Printers with a 2-line control panel:
- Use the right arrow to scroll to “Service” and then select “OK”
- Use the right arrow to scroll to “LaserJet Update” and then select “OK”
- Use the right arrow to scroll to “Manage Updates” and then select “OK”
- Use the right arrow to scroll to “Allow Downgrade” and then select “OK”
- Use the right arrow to scroll to “Yes” and then select “OK”

Printers with a touchscreen control panel: - - From the Home screen scroll to and select “Setup”
- Scroll to and select “Service” menu
- Scroll to and select “LaserJet Update”
   - Press ‘Next’ to clear the message
- Select “Manage Updates”
- Select “Allow Downgrade” Select “Yes”

For “Check Automatically” setting to be “Off”:

Printers with a 2-line control panel:

Continuing in “Manage Updates” where left off after “Allow Downgrade” in prior section:
-  Use the right arrow to scroll to “Check Automatically” and then select “OK”
-  Use the right arrow to scroll to “Off” and then select “OK”

Printers with a touchscreen control panel:

Continuing in “Manage Updates” where left off after “Allow Downgrade” in prior section:
-  Select “Check Automatically”
-  Select “Off”

For “Allow Updates” setting to be “Yes”:

Printers with a 2-line control panel:

Continuing in “Manage Updates” where left off after “Check Automatically” in prior section:
-  Use the right arrow to scroll to “Allow Updates” and then select “OK”
-  Use the right arrow to scroll to “Yes” and then select “OK”

Printers with a touchscreen control panel:

Continuing in “Manage Updates” where left off after “Check Automatically” in prior section:
-  Select “Allow Updates”
-  Select “Yes”


Once you have the proper printer settings proceed to the firmware downgrade procedure.


Firmware downgrade procedure:
Step 1: Download and save onto your desktop the firmware file (.exe) for your printer model, at cartridge-support.com.

Step 2: Double-click on the .exe file that was saved on your desktop.


Step 3: Click on “Run” in the security warning pop-up.
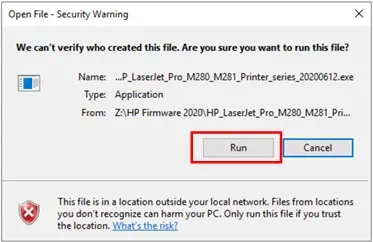


This will launch the firmware update wizard:
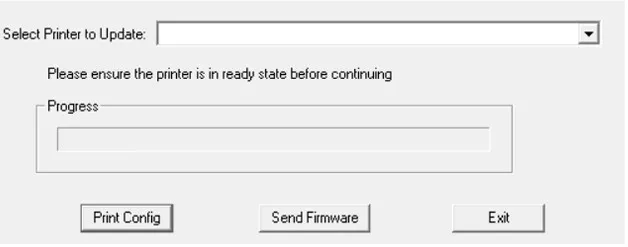

Note: The printer model and firmware in the heading of the screen may not match – this is okay.

Note: The printer does not need to be in a “Ready State” to perform the firmware downgrade.

Step 4: In the drop-down menu, select the printer having the error.
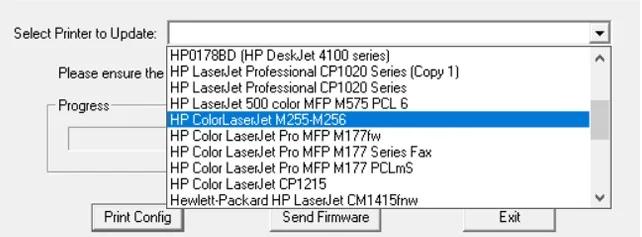

Next click on “Send Firmware”.
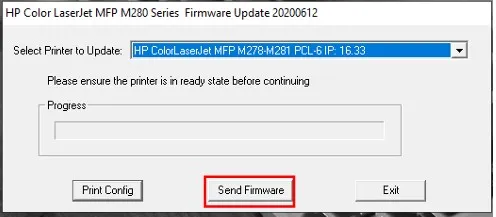

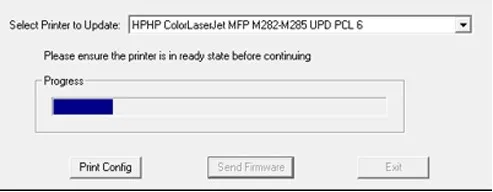
Step 5: During the firmware update, the progress bar will increase. This will take a few minutes.


On printer display will show “Programming…” during firmware update; for example:
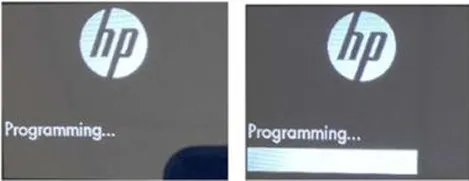


If firmware update is not proceeding for “Progress” and “Programming” status then see Troubleshooting section below.

Step 6: Once the firmware downgrade is completed, a happy face will appear indicating the firmware has successfully been installed.
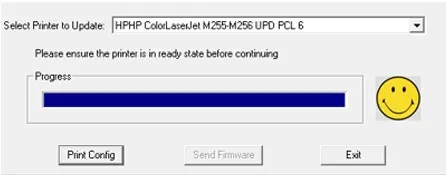

Once completed the printer will restart.

Note: If have screen shot above and printer connected by Ethernet did not update then check IP address is correct for the printer. Once IP is correctly set the printer may update without need to re-run the program.

Step 7: Change “Allow Updates” setting to “No”

For “Allow Updates” setting to be “No”:

Printers with a 2-line control panel:

-  Use the right arrow to scroll to “Service” and then select “OK”
-  Use the right arrow to scroll to “LaserJet Update” and then select “OK”
-  Use the right arrow to scroll to “Manage Updates” and then select “OK”
-  Use the right arrow to scroll to “Allow Updates” and then select “OK”
-  Use the right arrow to scroll to “No” and then select “OK”
-  Press return arrow button multiple times to return to Home screen

Printers with a touchscreen control panel:

-  From the Home screen scroll to and select “Setup”
-  Scroll to and select “Service” menu Scroll to and select “LaserJet Update”
   -  Press ‘Next’ to clear the message
-  Select “Manage Updates”
-  Select “Allow Updates”
-  Select “No” Press Home button to return to Home screen

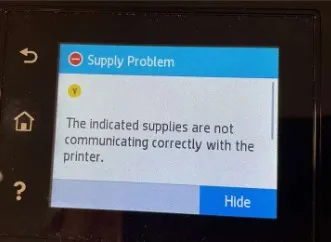
Troubleshooting – Still getting “Supplies Problem” Message?

  • Make sure the firmware is being updated to the correct printer selected (see Step 4 above)
  • Check the firmware file downloaded from the site matches the printer model.
  • For example, there are two firmware download files for the M255 printer series:

Firmware for M255dw
Firmware for M255nw

  • Check printer settings:
Allow Downgrade = YES
Check Automatically = OFF
Allow Updates = YES

  • For Ethernet connected printer check settings are correct (IP address, Gateway and Subnet).
  • If both of above are verified to be correct (downloaded file matches printer model and printer settings) then proceed with printer factory reset (“Restore Defaults”):
               -  For Network connected printer record the network IP address, Gateway and Subnet before proceeding with “Restore Defaults”
              -  For USB connected printer proceed directly with “Restore Defaults”

Restore Defaults:

Printers with a 2-line control panel:

-  Use the right arrow to scroll to “Service” and then select “OK”
-  Use the right arrow to scroll to “Restore Defaults” and then select “OK”

Printers with a touchscreen control panel:

-  From the Home screen scroll to and select “Setup”
-  Scroll to and select “Service” menu
-  Scroll to and select “Restore Defaults”
-  Select “OK”

Once the printer has been restored, follow the instructions from the start to reset the printer settings before proceeding with firmware downgrade again.
Instructions for Disabling Automatic Firmware Updates


Affected Printer Models:
- HP Color LaserJet Pro M255DW (W2110A/X-W2113A/X)
- HP Color LaserJet Pro MFP M283FDW (W2110A/X-W2113A/X)

Printers with a 2-line display:

- Use the right arrow to scroll to “Service” and then select “OK”
- Use the right arrow to scroll to “LaserJet Update” and then select “OK”
- Use the right arrow to scroll to “Manage Updates” and then select “OK”
- Use the right arrow to scroll to “Check Automatically” and then select “OK”
- Use the right arrow to scroll to “Off” and then select “OK”
- Press return arrow button multiple times to return to Home screen

Printers with a touch screen control panel:

- From the Home screen on the printer control panel, scroll to and select “Setup”
- Scroll to and select the “Service” menu
- Scroll to and select “LaserJet Update” Press Next to bypass the message.
- Select “Manage Updates”
- Select “Check Automatically”
- Select “Off” - Press Home symbol to return to Home screen


Please note - not all firmware updates disable aftermarket printer cartridges, and some may contain important security updates. You are encouraged to review firmware release notes and periodically check for critical security updates from your printer manufacturer so you can make an informed decision whether to install a particular firmware revision.
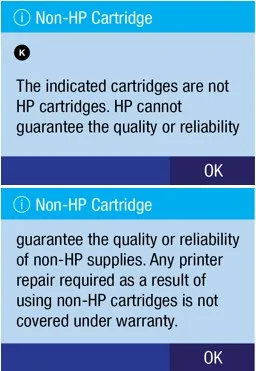
Standard Non-HP/Aftermarket Chip Messaging

Below is an example of a standard Non-HP/Aftermarket cartridge message that end-users will see whenever a Non-HP/Aftermarket cartridge is installed. This message has nothing to do with firmware updates. Select OK to clear. Message is only present at time of install.


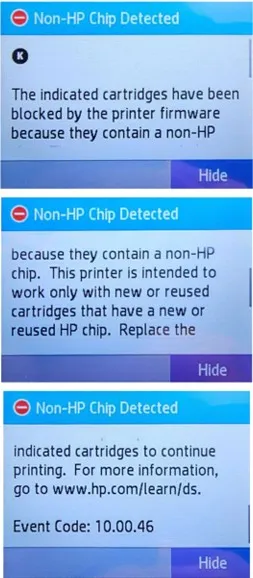
Non-HP/Aftermarket Firmware Blocked Chip Messaging

Below is an example of the message end-users will see when a firmware update has blocked a Non-HP/Aftermarket cartridge.

* Page yield based on 5% page coverage prints.

Yield Increase
Close

Clover Imaging extended yield remanufactured printer cartridges are designed, engineered, and manufactured to offer superior quality and performance, while surpassing the OEM’s highest page yields. Extended yield cartridges guarantee higher yields and lower cost-per-page without sacrificing density or print quality. Clover Imaging’s extended yield remanufactured printer cartridges are highly sustainable and have been GreenCircle certified as closed-loop products that contain at least 86% recycled content. For businesses looking for high-quality, sustainable printing at an affordable price, the choice is clear.

Recycled Content Certified
Close
Recycled Content Certified

GreenCircle is an independent, third-party ecolabel that recognizes an organization’s commitment to reuse materials to support a circular economy and reduce their reliance on virgin materials. Clover Imaging remanufactured toner cartridges are GreenCircle-certified to contain 86% recycled content and inkjet cartridges are certified at 99%.

Low-Emissions Toner
Close
Low-Emissions Toner

Low-emission toners used by Clover Imaging have been pre-approved by Nordic Ecolabelling for use in Nordic Swan Ecolabel-certified remanufactured printer cartridges. These toners are specially formulated to ensure that applicable Nordic Swan Ecolabel requirements are met, including criteria placing strict limits on volatile organic compound emissions and prohibiting the presence of certain pollutants and other harmful substances.

Close

Sign Up For More Information

- SIGN UP TODAY! -
Close

Thanks For Signing Up!

Register now to start saving 40% over OEM pricing

2022 Aspire Sustainability Comparative LCA, commissioned by Clover Imaging.

Information
Close
Information
Close
Information
Close
Payment Information

To use the Clover Recycling Center, you must provide a credit card which may be charged on a monthly basis to offset program costs. Charges will vary depending on the contents of your return shipments.

View program terms and conditions

* Required Field
Notification
 
Close

 
Close

INFORMATION
Close

Press OK to switch region to Clover Imaging

Retrieve account data
Close
To retrieve your login data, enter your email:
 
Please wait...
Information

Thank you for your interest in Clover! Due to the robust functionality on our website, we can only support the most current web browsers. We recommend upgrading your browser to the latest version of Internet Explorer, Google Chrome or Mozilla Firefox.

Error retrieving data
Close
Thank you
Close
Video
Close
Video
Close
Video
Close
Video
Close
Video
Close
Web Tutorial
Close
Terms and Conditions
Close
Clover Video
Close
Warning
Close
Email
Close
To download this certificate, please provide your email address. You will receive the requested file within 10 minutes.
 
Collection and use of email address governed by our Privacy Policy
PROMOTION DETAILS
Close