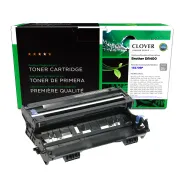
Clover Remanufactured Drum Unit for Brother DR400

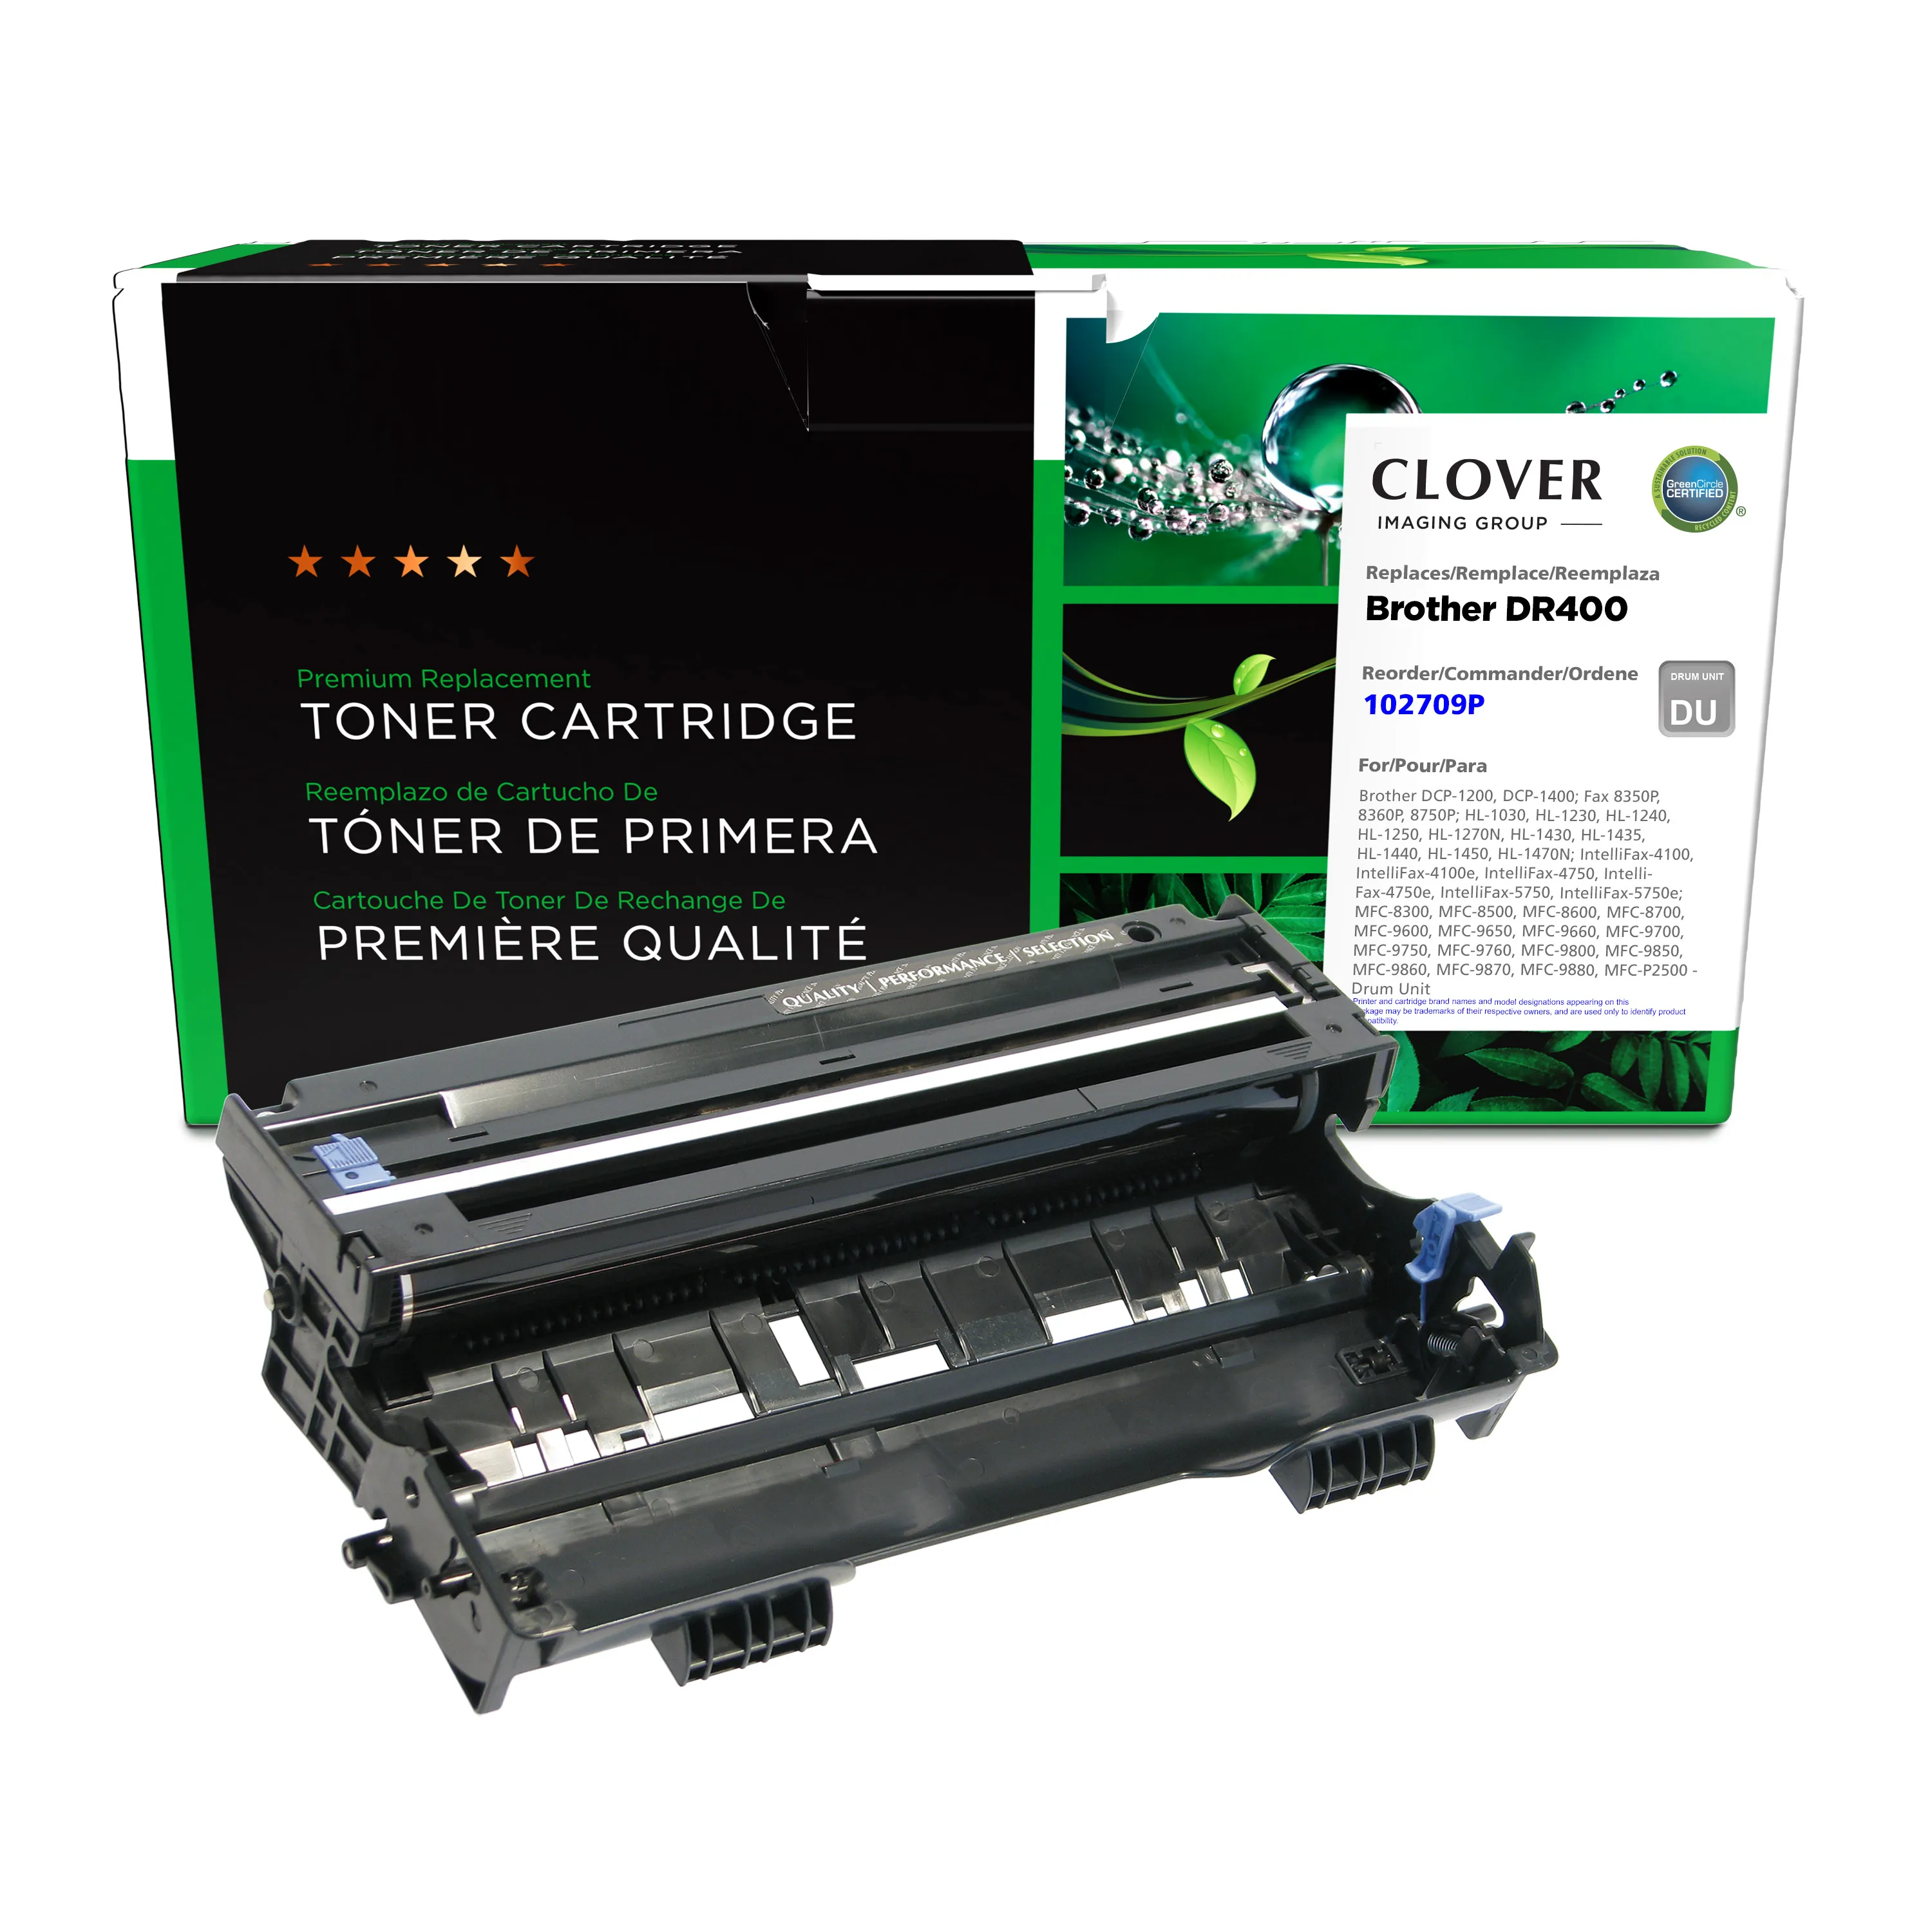
Clover Remanufactured Drum Unit for Brother DR400

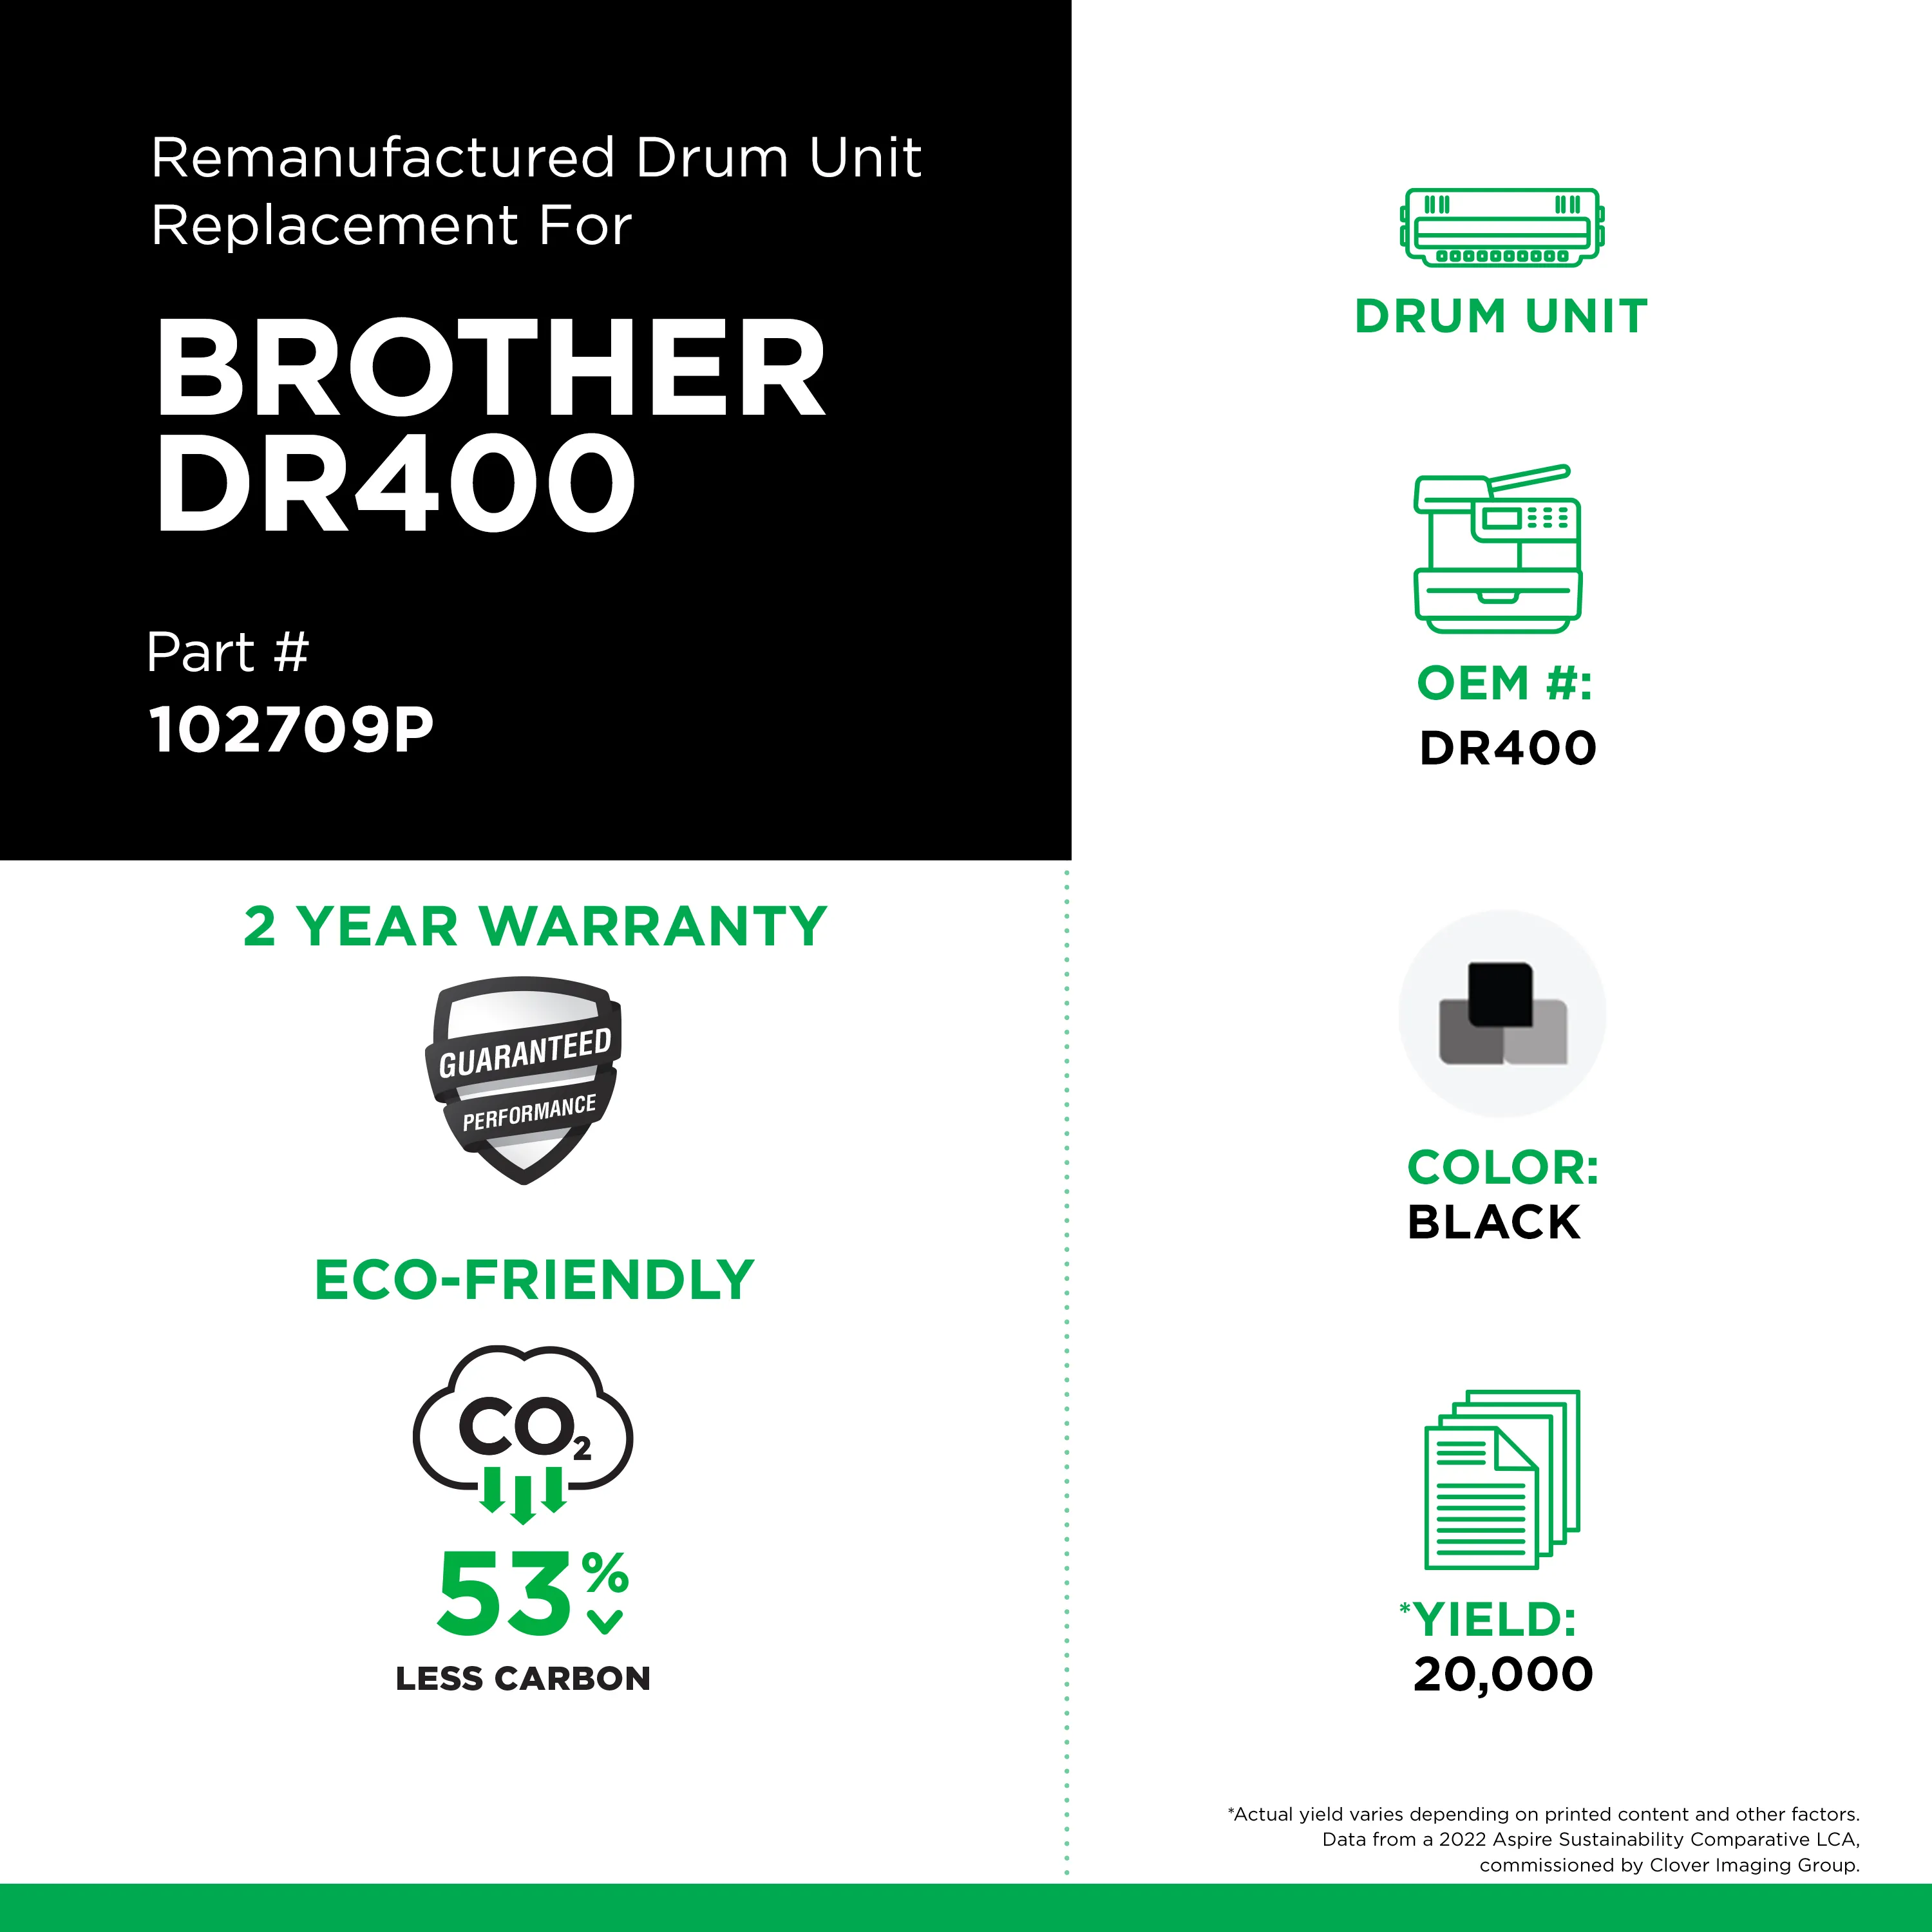
  • 102709P
  • Laser Drum
  • Brother - DR400
  • Black
  • 20,000 Pages *

How do I purchase these products?

RESELLER

If you are a reseller, please log-in or register to become a Clover dealer.

BUSINESS OR CONSUMER

Please fill out this brief form to be contacted about purchasing Clover products.

BUSINESS OR CONSUMER

Thank you for your interest!

Your request has been forwarded to your local Clover Imaging products dealer and you will be contacted within 2 business days.

Additional Product Information

Technical Specifications

Videos and Downloads

Product Related Videos:

  • Lower Your Carbon Footprint with Sustainable Toner Cartridges

Product Related Downloads:

Product Troubleshooting

Possible Troubleshooting

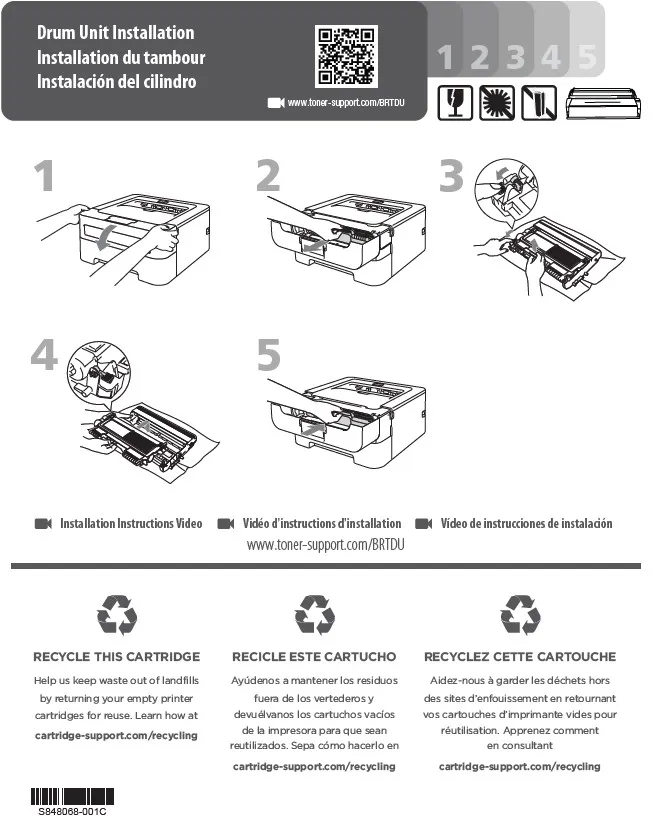
How to Reset a Brother DR400 Drum Unit

If your Brother printer continues to display Replace Drum, Drum End Soon, or a similar drum-life message after installing a new DR400 drum unit, the drum counter may not have been reset correctly.

This guide explains how to manually reset the drum counter on Brother printers that use the DR400 drum unit.

Compatible Brother Printers:
Brother DCP-1200, DCP-1400; Fax 8350P, 8360P, 8750P; HL-1030, HL-1230, HL-1240, HL-1250, HL-1270N, HL-1430, HL-1435, HL-1440, HL-1450, HL-1470N; IntelliFax-4100, IntelliFax-4100e, IntelliFax-4750, IntelliFax-4750e, IntelliFax-5750, IntelliFax-5750e; MFC-8300, MFC-8500, MFC-8600, MFC-8700, MFC-9600, MFC-9650, MFC-9660, MFC-9700, MFC-9750, MFC-9760, MFC-9800, MFC-9850, MFC-9860, MFC-9870, MFC-9880, MFC-P2500

Before You Reset the Drum

• Install a new DR400 drum unit.
• Transfer the toner cartridge into the replacement drum unit.
• Make sure the toner cartridge is properly locked into the drum unit.
• Reinstall the drum and toner assembly into the printer.
• Make sure the printer is turned on.
• Open the front cover before beginning the reset procedure.

Note: Reset the drum counter only when replacing the drum unit. Resetting the counter while continuing to use the existing drum will cause the remaining drum-life information to be inaccurate.

Drum Reset Instructions

HL Series Models
(HL-1230, HL-1240, HL-1250, HL-1270N, HL-1435, HL-1440, HL-1450, HL-1470N)

1. Turn the printer on.
2. Open the front cover.
3. Locate the control panel button underneath the LED indicators.
4. Press and hold the control panel button until all of the LEDs illuminate.
5. Release the button.
6. Close the front cover.
7. Confirm that the Drum LED is no longer illuminated.

The drum counter should now be reset.

DCP Series Model
(DCP-1200, DCP-1400)

1. Turn the printer on.
2. Open the front cover.
3. Install the new DR400 drum unit.
4. Press the Clear button.
5. When the display asks REPLACE DRUM?, press 1 for Yes.
6. Wait for the display to show ACCEPTED.
7. Close the front cover.

The drum counter should now be reset.

IntelliFax Series Models
(IntelliFax-4100, IntelliFax-4100e, IntelliFax-4750, IntelliFax-4750e, IntelliFax-5750, IntelliFax-5750e)

1. Turn the printer on.
2. Open the front cover.
3. Install the new DR400 drum unit.
4. Press the Clear button.
5. When the display asks REPLACE DRUM?, press 1 for Yes.
6. Wait for the display to show ACCEPTED.
7. Close the front cover.

The drum counter should now be reset.

MFC Series Models
(MFC-8300, MFC-8500, MFC-8600, MFC-8700, MFC-9600, MFC-9700, MFC-9800, MFC-P2500)

1. Turn the printer on.
2. Open the front cover.
3. Install the new DR400 drum unit.
4. Press the Clear button.
5. When the display asks REPLACE DRUM?, press 1 for Yes.
6. Wait for the display to show ACCEPTED.
7. Close the front cover.

The drum counter should now be reset.

Common Error Messages

A drum reset may be required if your Brother printer displays any of the following messages after installing a replacement drum:

• Replace Drum
• Change Drum
• Change Drum Soon
• Drum End Soon
• Drum LED remains illuminated

The exact message or indicator will vary depending on the Brother model. Brother documentation identifies Change Drum as an indication that the drum is approaching the end of its expected life.

Troubleshooting

If the drum message remains after completing the reset:

• Verify that the replacement drum is compatible with your Brother machine.
• Remove and reinstall the drum and toner assembly.
• Confirm that the toner cartridge is fully locked into the new drum unit.
• Make sure the drum and toner assembly is properly installed.
• Verify that the front cover is completely closed.
• Repeat the appropriate drum reset procedure. • Make sure you are using the reset procedure for your specific machine.
• If available, test with another DR400 drum unit.

If the Drum LED remains on:

For HL-series models, make sure the control-panel button was held long enough for all LEDs to illuminate before releasing it. Brother states that the drum counter is reset when this sequence is completed.

If the machine displays a drum-related error:

The drum unit's corona wire may need cleaning. Brother recommends cleaning the corona wire and returning its cleaning tab to the proper home position before reinstalling the drum assembly.

Frequently Asked Questions

What is the Brother DR400?

The DR400 is a separate drum unit used in a large number of older Brother monochrome laser printers, fax machines, and multifunction machines. Brother specifies an approximate yield of 20,000 pages.

Is the DR400 the same as the TN430 or TN460 toner cartridge?

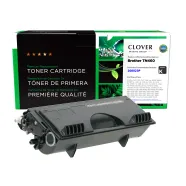
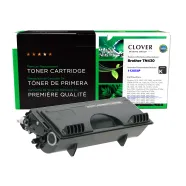
No. The DR400 is the drum unit, while the TN430 and TN460 are toner cartridges used with this printer family. The toner cartridge installs into the DR400 drum unit.

Do I need to reset the drum after replacing the toner cartridge?

No. The drum counter should be reset when you install a new drum unit. Replacing only the toner cartridge does not require a drum reset.

Can I reset the DR400 drum counter without replacing the drum?

The reset procedure may allow the counter to be reset, but Brother specifically instructs users to reset the counter only when replacing the drum unit. Resetting a used drum can cause the machine to display inaccurate remaining drum-life information.

How long does a DR400 drum last?

Brother's approximate yield for the DR400 is 20,000 pages. Actual drum life can vary depending on factors such as paper type, printing patterns, toner usage, temperature, and humidity.

Why does my Brother still say "Replace Drum" after I installed a new DR400?

The most common reason is that the drum counter was not reset after installing the replacement drum. On the HL-series machines, the Drum LED will remain illuminated until the drum counter has been reset.
How to Reset a Brother DR400 Drum Unit

If your Brother printer continues to display Replace Drum, Drum End Soon, or a similar drum-life message after installing a new DR400 drum unit, the drum counter may not have been reset correctly.

This guide explains how to manually reset the drum counter on Brother printers that use the DR400 drum unit.

Compatible Brother Printers:
Brother DCP-1200, DCP-1400; Fax 8350P, 8360P, 8750P; HL-1030, HL-1230, HL-1240, HL-1250, HL-1270N, HL-1430, HL-1435, HL-1440, HL-1450, HL-1470N; IntelliFax-4100, IntelliFax-4100e, IntelliFax-4750, IntelliFax-4750e, IntelliFax-5750, IntelliFax-5750e; MFC-8300, MFC-8500, MFC-8600, MFC-8700, MFC-9600, MFC-9650, MFC-9660, MFC-9700, MFC-9750, MFC-9760, MFC-9800, MFC-9850, MFC-9860, MFC-9870, MFC-9880, MFC-P2500

Before You Reset the Drum

• Install a new DR400 drum unit.
• Transfer the toner cartridge into the replacement drum unit.
• Make sure the toner cartridge is properly locked into the drum unit.
• Reinstall the drum and toner assembly into the printer.
• Make sure the printer is turned on.
• Open the front cover before beginning the reset procedure.

Note: Reset the drum counter only when replacing the drum unit. Resetting the counter while continuing to use the existing drum will cause the remaining drum-life information to be inaccurate.

Drum Reset Instructions

HL Series Models
(HL-1230, HL-1240, HL-1250, HL-1270N, HL-1435, HL-1440, HL-1450, HL-1470N)

1. Turn the printer on.
2. Open the front cover.
3. Locate the control panel button underneath the LED indicators.
4. Press and hold the control panel button until all of the LEDs illuminate.
5. Release the button.
6. Close the front cover.
7. Confirm that the Drum LED is no longer illuminated.

The drum counter should now be reset.

DCP Series Model
(DCP-1200, DCP-1400)

1. Turn the printer on.
2. Open the front cover.
3. Install the new DR400 drum unit.
4. Press the Clear button.
5. When the display asks REPLACE DRUM?, press 1 for Yes.
6. Wait for the display to show ACCEPTED.
7. Close the front cover.

The drum counter should now be reset.

IntelliFax Series Models
(IntelliFax-4100, IntelliFax-4100e, IntelliFax-4750, IntelliFax-4750e, IntelliFax-5750, IntelliFax-5750e)

1. Turn the printer on.
2. Open the front cover.
3. Install the new DR400 drum unit.
4. Press the Clear button.
5. When the display asks REPLACE DRUM?, press 1 for Yes.
6. Wait for the display to show ACCEPTED.
7. Close the front cover.

The drum counter should now be reset.

MFC Series Models
(MFC-8300, MFC-8500, MFC-8600, MFC-8700, MFC-9600, MFC-9700, MFC-9800, MFC-P2500)

1. Turn the printer on.
2. Open the front cover.
3. Install the new DR400 drum unit.
4. Press the Clear button.
5. When the display asks REPLACE DRUM?, press 1 for Yes.
6. Wait for the display to show ACCEPTED.
7. Close the front cover.

The drum counter should now be reset.

Common Error Messages

A drum reset may be required if your Brother printer displays any of the following messages after installing a replacement drum:

• Replace Drum
• Change Drum
• Change Drum Soon
• Drum End Soon
• Drum LED remains illuminated

The exact message or indicator will vary depending on the Brother model. Brother documentation identifies Change Drum as an indication that the drum is approaching the end of its expected life.

Troubleshooting

If the drum message remains after completing the reset:

• Verify that the replacement drum is compatible with your Brother machine.
• Remove and reinstall the drum and toner assembly.
• Confirm that the toner cartridge is fully locked into the new drum unit.
• Make sure the drum and toner assembly is properly installed.
• Verify that the front cover is completely closed.
• Repeat the appropriate drum reset procedure. • Make sure you are using the reset procedure for your specific machine.
• If available, test with another DR400 drum unit.

If the Drum LED remains on:

For HL-series models, make sure the control-panel button was held long enough for all LEDs to illuminate before releasing it. Brother states that the drum counter is reset when this sequence is completed.

If the machine displays a drum-related error:

The drum unit's corona wire may need cleaning. Brother recommends cleaning the corona wire and returning its cleaning tab to the proper home position before reinstalling the drum assembly.

Frequently Asked Questions

What is the Brother DR400?

The DR400 is a separate drum unit used in a large number of older Brother monochrome laser printers, fax machines, and multifunction machines. Brother specifies an approximate yield of 20,000 pages.

Is the DR400 the same as the TN430 or TN460 toner cartridge?

No. The DR400 is the drum unit, while the TN430 and TN460 are toner cartridges used with this printer family. The toner cartridge installs into the DR400 drum unit.

Do I need to reset the drum after replacing the toner cartridge?

No. The drum counter should be reset when you install a new drum unit. Replacing only the toner cartridge does not require a drum reset.

Can I reset the DR400 drum counter without replacing the drum?

The reset procedure may allow the counter to be reset, but Brother specifically instructs users to reset the counter only when replacing the drum unit. Resetting a used drum can cause the machine to display inaccurate remaining drum-life information.

How long does a DR400 drum last?

Brother's approximate yield for the DR400 is 20,000 pages. Actual drum life can vary depending on factors such as paper type, printing patterns, toner usage, temperature, and humidity.

Why does my Brother still say "Replace Drum" after I installed a new DR400?

The most common reason is that the drum counter was not reset after installing the replacement drum. On the HL-series machines, the Drum LED will remain illuminated until the drum counter has been reset.

* Page yield based on 5% page coverage prints.

Yield Increase
Close

Clover Imaging extended yield remanufactured printer cartridges are designed, engineered, and manufactured to offer superior quality and performance, while surpassing the OEM’s highest page yields. Extended yield cartridges guarantee higher yields and lower cost-per-page without sacrificing density or print quality. Clover Imaging’s extended yield remanufactured printer cartridges are highly sustainable and have been GreenCircle certified as closed-loop products that contain at least 86% recycled content. For businesses looking for high-quality, sustainable printing at an affordable price, the choice is clear.

Recycled Content Certified
Close
Recycled Content Certified

GreenCircle is an independent, third-party ecolabel that recognizes an organization’s commitment to reuse materials to support a circular economy and reduce their reliance on virgin materials. Clover Imaging remanufactured toner cartridges are GreenCircle-certified to contain 86% recycled content and inkjet cartridges are certified at 99%.

Low-Emissions Toner
Close
Low-Emissions Toner

Low-emission toners used by Clover Imaging have been pre-approved by Nordic Ecolabelling for use in Nordic Swan Ecolabel-certified remanufactured printer cartridges. These toners are specially formulated to ensure that applicable Nordic Swan Ecolabel requirements are met, including criteria placing strict limits on volatile organic compound emissions and prohibiting the presence of certain pollutants and other harmful substances.

Close

Sign Up For More Information

- SIGN UP TODAY! -
Close

Thanks For Signing Up!

Register now to start saving 40% over OEM pricing

2022 Aspire Sustainability Comparative LCA, commissioned by Clover Imaging.

Information
Close
Information
Close
Information
Close
Payment Information

To use the Clover Recycling Center, you must provide a credit card which may be charged on a monthly basis to offset program costs. Charges will vary depending on the contents of your return shipments.

View program terms and conditions

* Required Field
Notification
 
Close

 
Close

INFORMATION
Close

Press OK to switch region to Clover Imaging

Retrieve account data
Close
To retrieve your login data, enter your email:
 
Please wait...
Information

Thank you for your interest in Clover! Due to the robust functionality on our website, we can only support the most current web browsers. We recommend upgrading your browser to the latest version of Internet Explorer, Google Chrome or Mozilla Firefox.

Error retrieving data
Close
Thank you
Close
Video
Close
Video
Close
Video
Close
Video
Close
Video
Close
Web Tutorial
Close
Terms and Conditions
Close
Clover Video
Close
Warning
Close
Email
Close
To download this certificate, please provide your email address. You will receive the requested file within 10 minutes.
 
Collection and use of email address governed by our Privacy Policy
PROMOTION DETAILS
Close