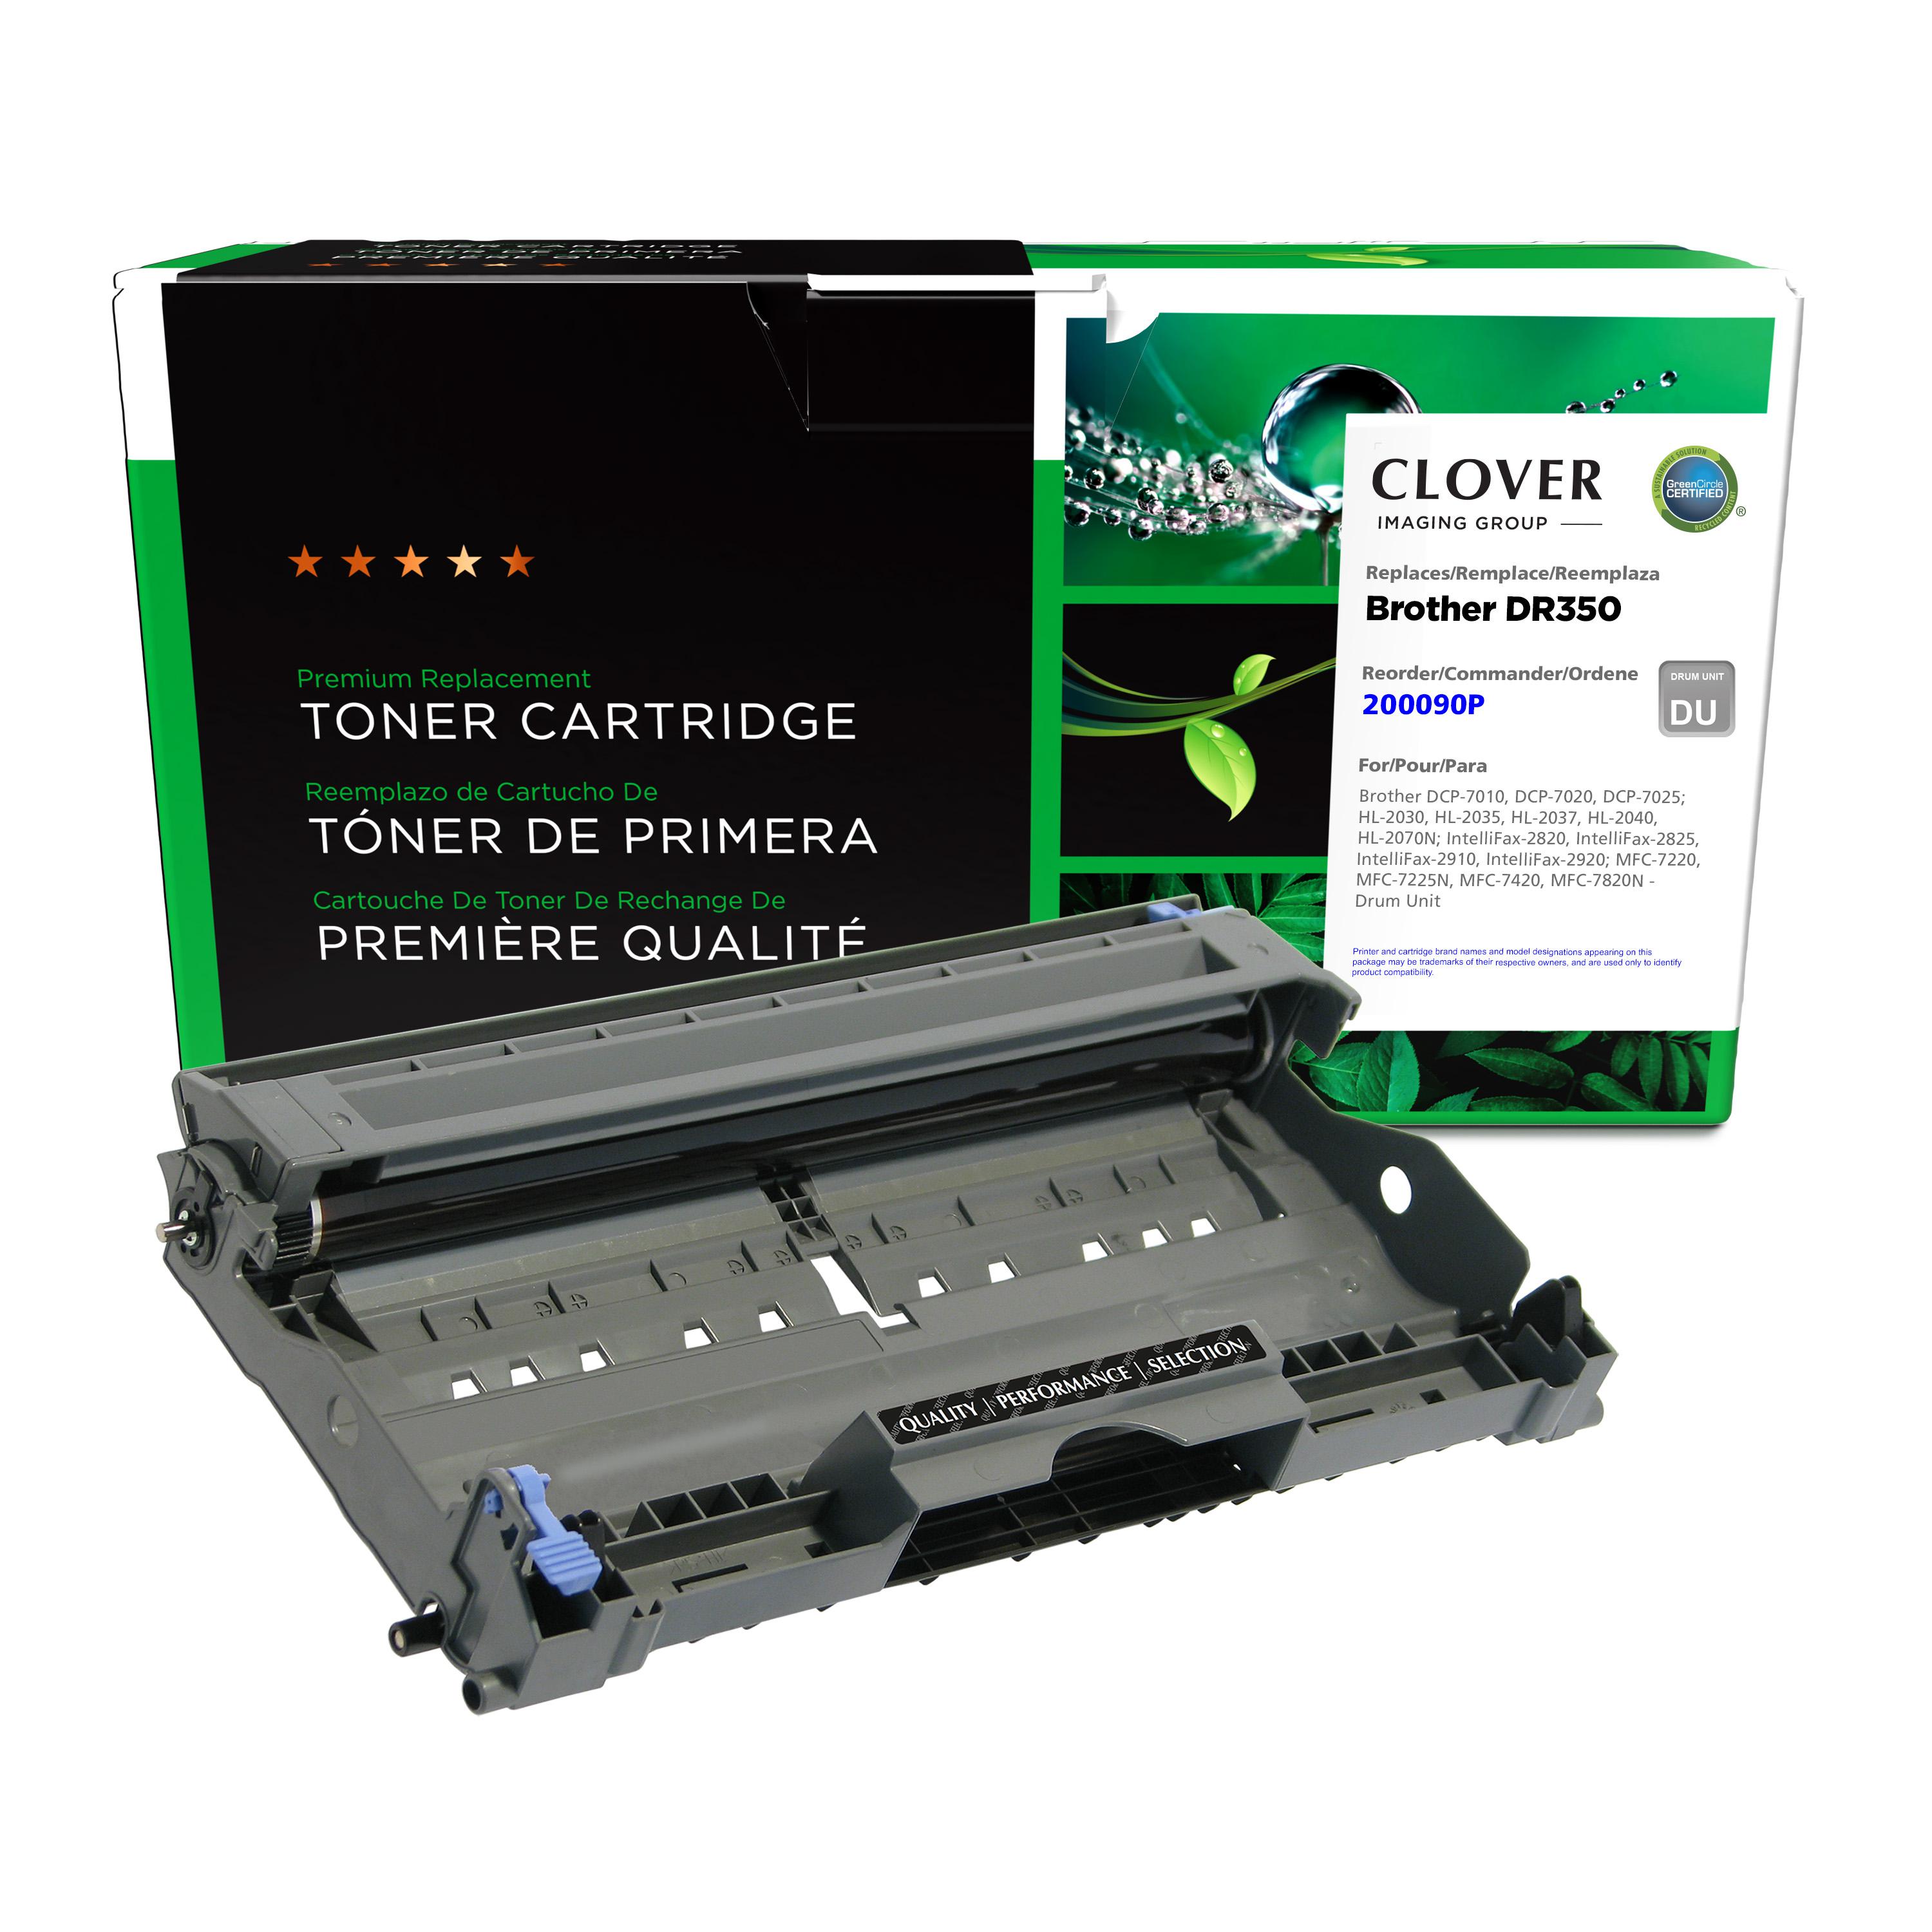
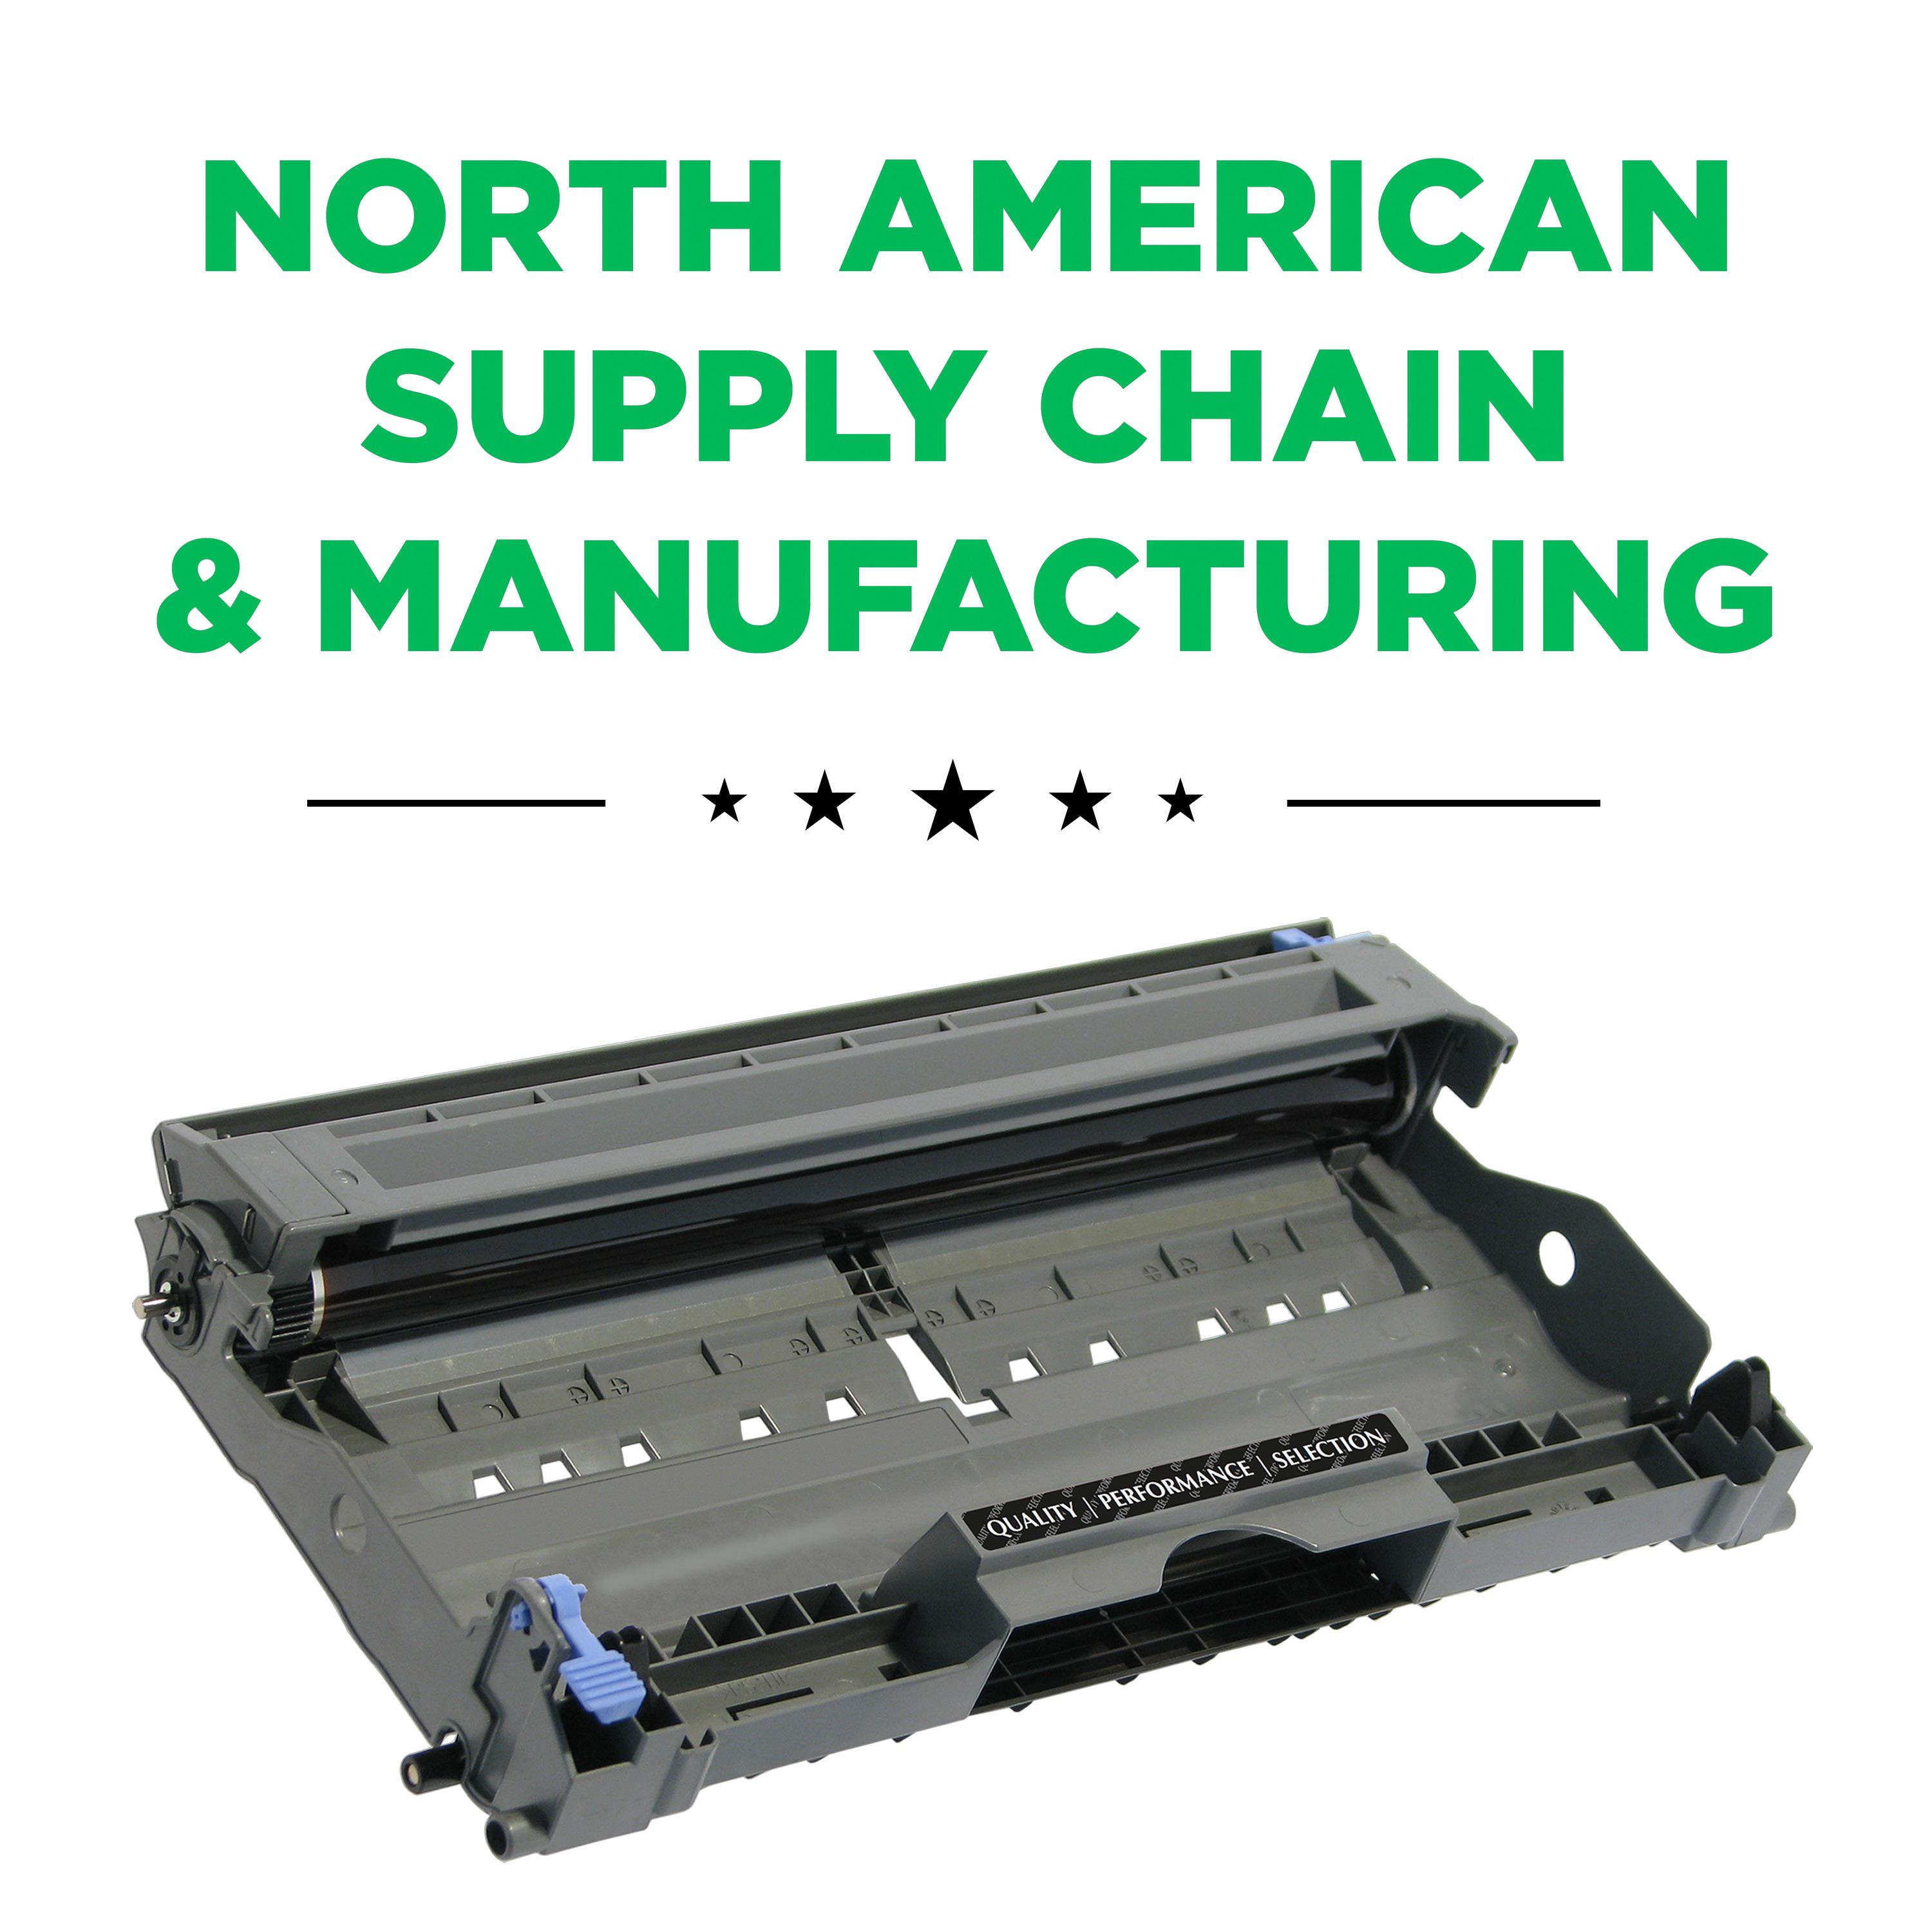
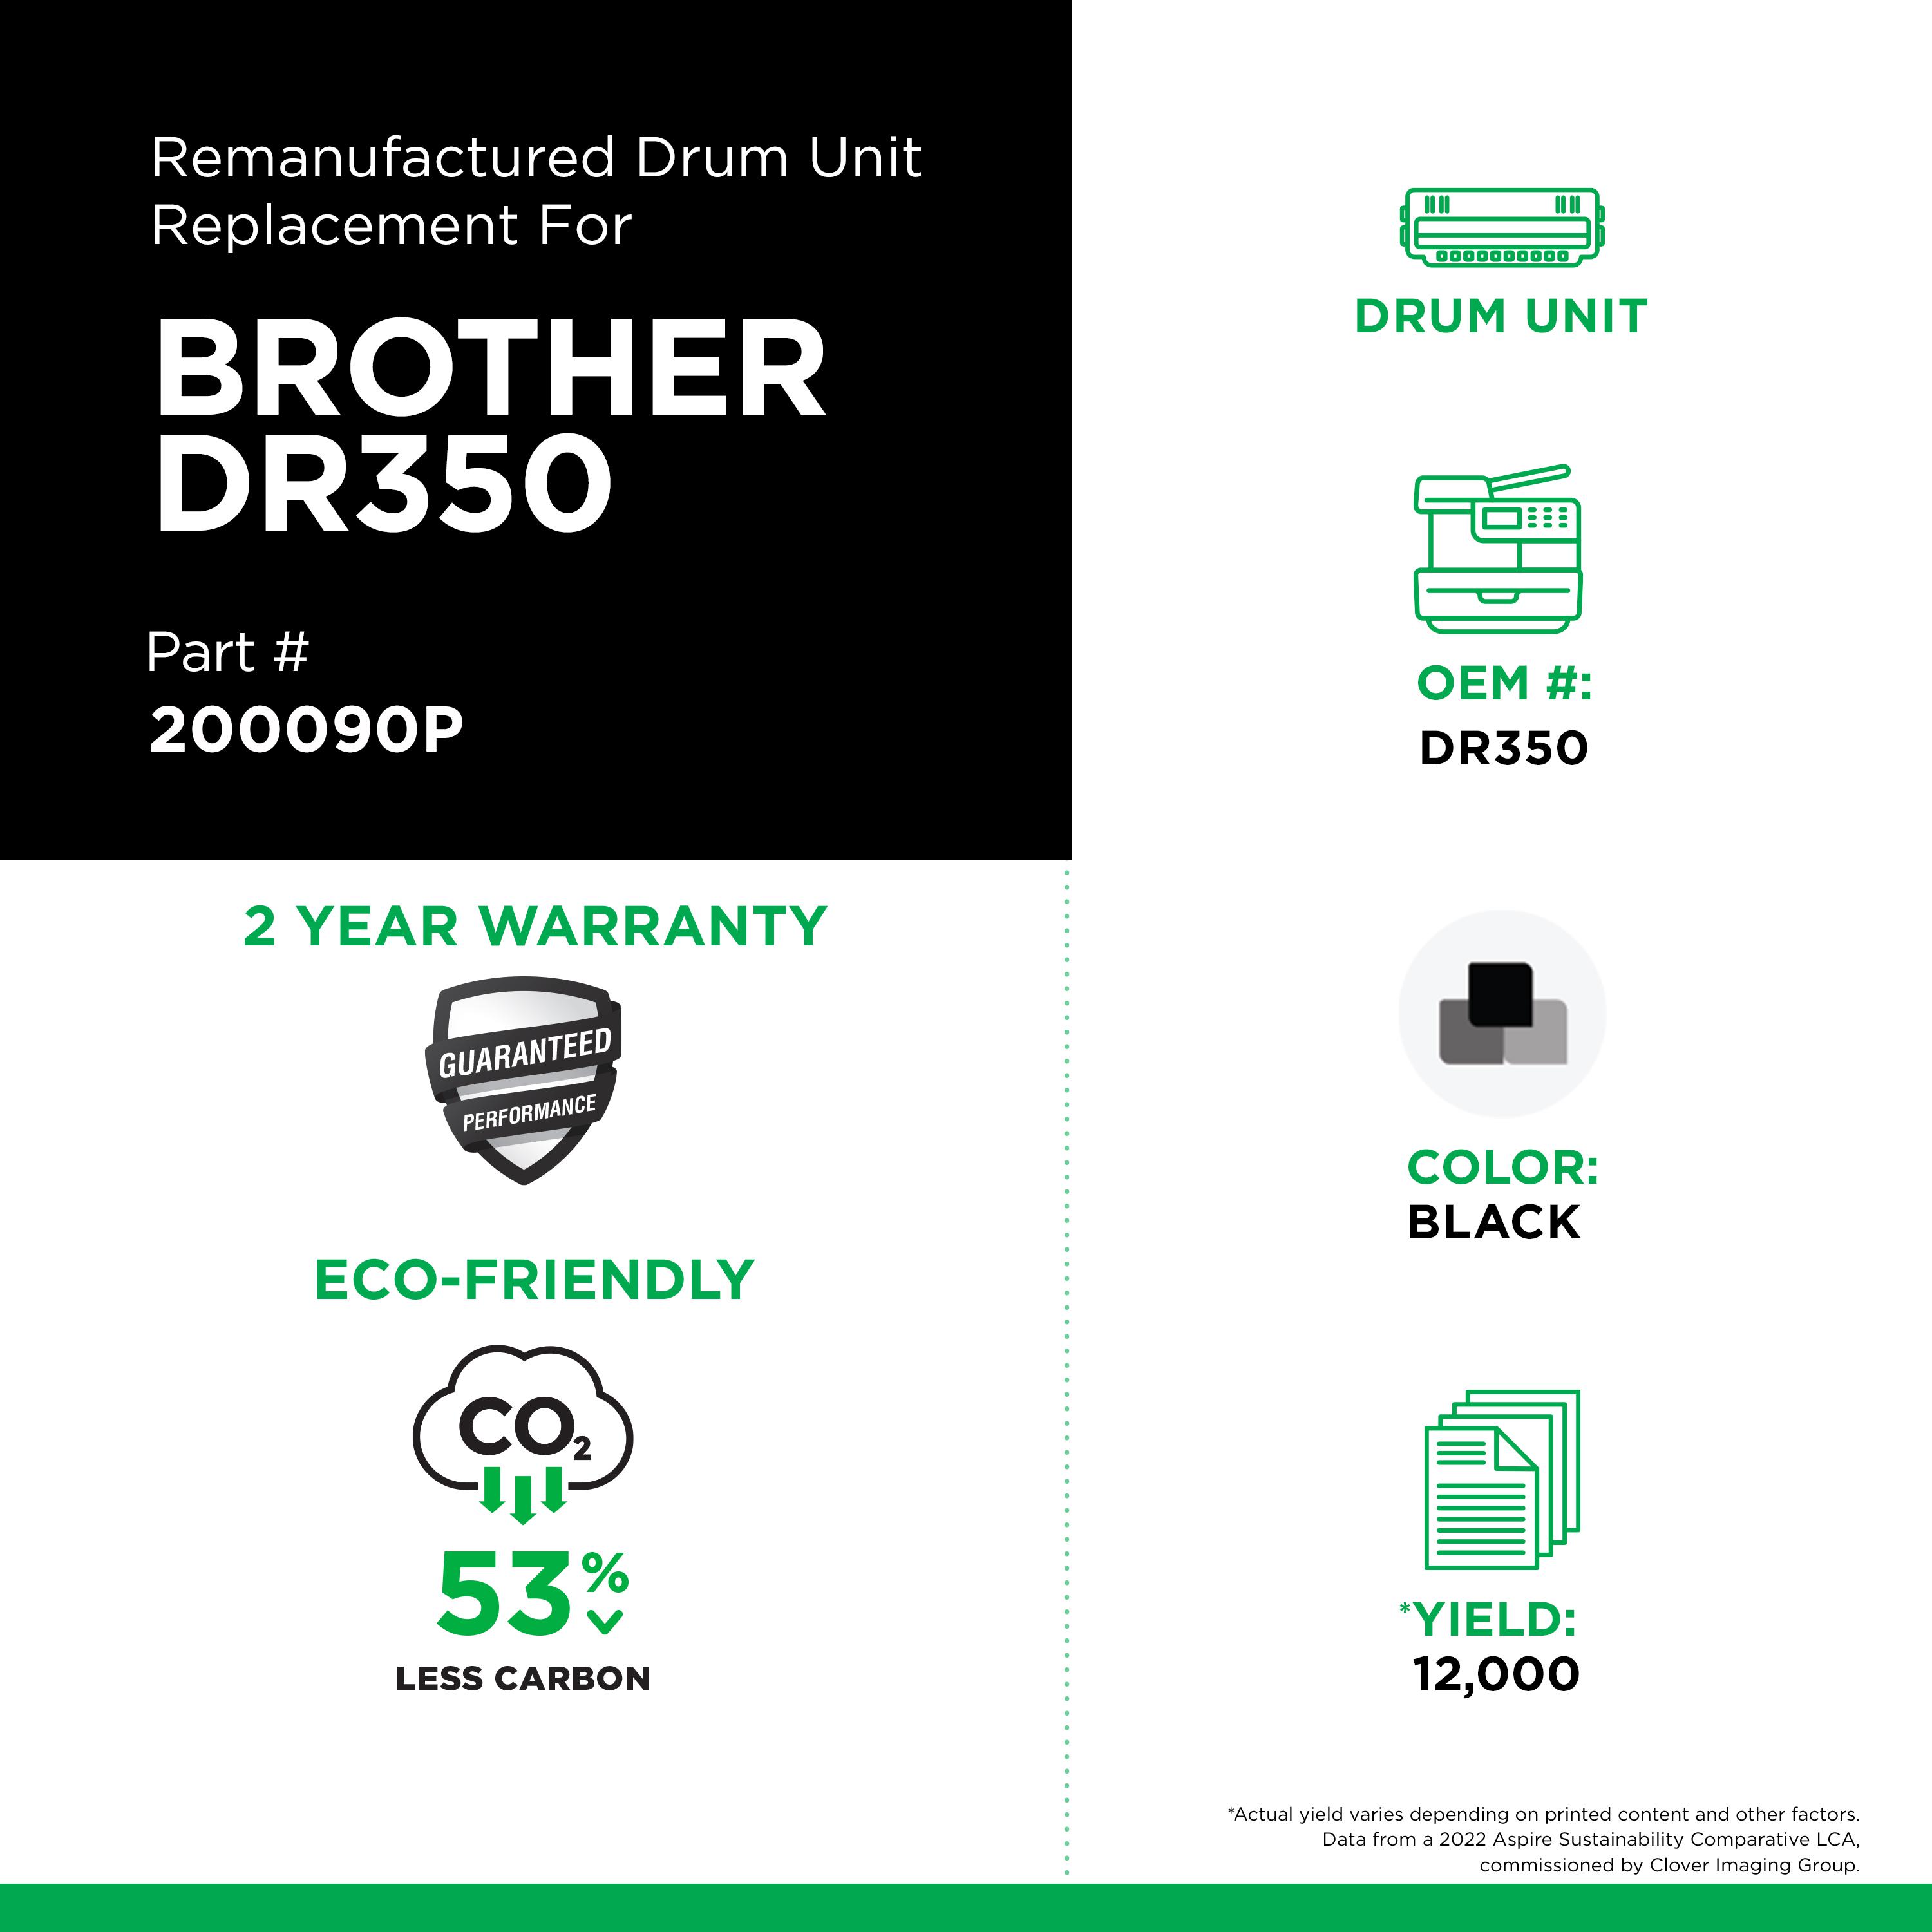
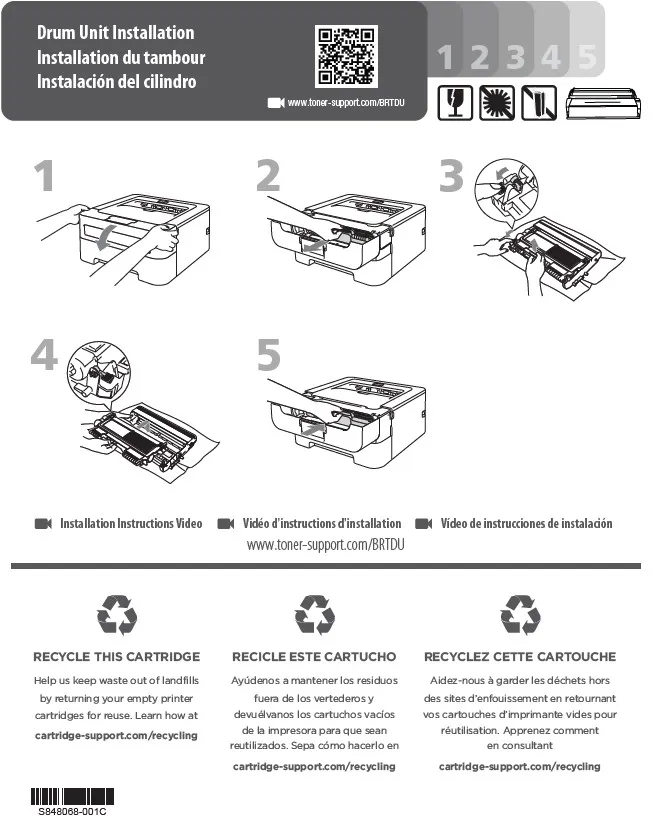
Remanufactured drum units from Clover Imaging go through rigorous lifecycle testing that includes environmental chamber testing, post-production testing, and OEM benchmarking to ensure our drums meet or exceed OEM performance. With an average recycled content of 85%, Clover Imaging is dedicated to keeping drum units out of landfills, reducing your carbon footprint and providing a sustainable product at an affordable price.
Environmentally Friendly: Remanufactured from an original Brother drum unit.
If your Brother printer continues to display Replace Drum, Drum End Soon, or a similar drum-life message after installing a new DR730 drum unit, the drum counter may not have been reset correctly.
This guide explains how to manually reset the drum counter on Brother printers that use the DR350 drum unit.
Before You Reset the Drum • Install a new DR350 drum unit. • Transfer the toner cartridge into the replacement drum unit, if necessary. • Make sure the toner cartridge is properly locked into the drum unit. • Reinstall the drum and toner assembly into the printer. • Do not close the front cover until the reset procedure is complete on models that require the cover to remain open. • Make sure the printer is powered on.
Note: Reset the drum counter only when replacing the drum unit. Do not reset the drum counter when replacing only the toner cartridge. Resetting the counter on a used drum can cause the remaining drum-life information to become inaccurate.
Drum Reset Instructions
HL Series Models (HL-2040, HL-2070N)
1. Turn the printer on. 2. Open the front cover. 3. Install the new DR350 drum and toner assembly. 4. Leave the front cover open. 5. Press and hold the Go button for approximately 4 seconds. 6. Continue holding the button until all four LEDs illuminate. 7. Release the Go button. 8. Close the front cover. 9. Confirm that the Drum LED is no longer illuminated.
The drum counter should now be reset.
DCP Series Model (DCP- 7020)
1. Turn the printer on. 2. Open the front cover. 3. Install the new DR350 drum unit. 4. Press Options on the control panel. 5. If the printer has a numeric keypad, press 1 to reset the drum counter. 6. If the printer does not have a numeric keypad, press the ? Up Arrow to reset the drum counter. 7. Wait for the display to show Accepted. 8. Close the front cover.
The drum counter should now be reset.
IntelliFax Series Models (IntelliFax-2820, IntelliFax-2910, IntelliFax-2920)
1. Turn the machine on. 2. Open the front cover. 3. Press Options on the control panel. 4. If the machine has a numeric keypad, press 1 to reset the drum counter. 5. If the machine does not have a numeric keypad, press the ? Up Arrow. 6. Wait for the display to show Accepted. 7. Close the front cover.
The drum counter should now be reset.
MFC Series Models (MFC-7220, MFC-7225N, MFC-7420, MFC-7820N)
1. Turn the machine on. 2. Open the front cover. 3. Press Options on the control panel. 4. If the machine has a numeric keypad, press 1 to reset the drum counter. 5. If the machine does not have a numeric keypad, press the ? Up Arrow. 6. Wait for the display to show Accepted. 7. Close the front cover.
The drum counter should now be reset.
Common Error Messages
A drum reset may be required if your Brother printer displays any of the following messages after installing a replacement drum:
• Change Drum Soon • Replace Drum • Drum Life End Soon • Drum LED remains illuminated • Drum LED continues flashing
The exact message or indicator will vary depending on the Brother model. For the HL-2030/2040/2070N family, Brother identifies the flashing Drum LED as an indication that the drum is nearing the end of its life.
Troubleshooting
If the drum message remains after completing the reset:
• Verify that the replacement drum is compatible with your Brother printer. • Remove and reinstall the drum and toner assembly. • Confirm that the toner cartridge is fully locked into the new drum unit. • Make sure the drum and toner assembly is properly installed. • Verify that the front cover is completely closed. • Repeat the appropriate drum reset procedure. • Make sure you are using the reset procedure for your specific printer model. • If available, test with another DR350 drum unit.
How to Reset a Brother DR350 Drum Unit
If your Brother printer continues to display Replace Drum, Drum End Soon, or a similar drum-life message after installing a new DR730 drum unit, the drum counter may not have been reset correctly.
This guide explains how to manually reset the drum counter on Brother printers that use the DR350 drum unit.
Before You Reset the Drum • Install a new DR350 drum unit. • Transfer the toner cartridge into the replacement drum unit, if necessary. • Make sure the toner cartridge is properly locked into the drum unit. • Reinstall the drum and toner assembly into the printer. • Do not close the front cover until the reset procedure is complete on models that require the cover to remain open. • Make sure the printer is powered on.
Note: Reset the drum counter only when replacing the drum unit. Do not reset the drum counter when replacing only the toner cartridge. Resetting the counter on a used drum can cause the remaining drum-life information to become inaccurate.
Drum Reset Instructions
HL Series Models (HL-2040, HL-2070N)
1. Turn the printer on. 2. Open the front cover. 3. Install the new DR350 drum and toner assembly. 4. Leave the front cover open. 5. Press and hold the Go button for approximately 4 seconds. 6. Continue holding the button until all four LEDs illuminate. 7. Release the Go button. 8. Close the front cover. 9. Confirm that the Drum LED is no longer illuminated.
The drum counter should now be reset.
DCP Series Model (DCP- 7020)
1. Turn the printer on. 2. Open the front cover. 3. Install the new DR350 drum unit. 4. Press Options on the control panel. 5. If the printer has a numeric keypad, press 1 to reset the drum counter. 6. If the printer does not have a numeric keypad, press the ? Up Arrow to reset the drum counter. 7. Wait for the display to show Accepted. 8. Close the front cover.
The drum counter should now be reset.
IntelliFax Series Models (IntelliFax-2820, IntelliFax-2910, IntelliFax-2920)
1. Turn the machine on. 2. Open the front cover. 3. Press Options on the control panel. 4. If the machine has a numeric keypad, press 1 to reset the drum counter. 5. If the machine does not have a numeric keypad, press the ? Up Arrow. 6. Wait for the display to show Accepted. 7. Close the front cover.
The drum counter should now be reset.
MFC Series Models (MFC-7220, MFC-7225N, MFC-7420, MFC-7820N)
1. Turn the machine on. 2. Open the front cover. 3. Press Options on the control panel. 4. If the machine has a numeric keypad, press 1 to reset the drum counter. 5. If the machine does not have a numeric keypad, press the ? Up Arrow. 6. Wait for the display to show Accepted. 7. Close the front cover.
The drum counter should now be reset.
Common Error Messages
A drum reset may be required if your Brother printer displays any of the following messages after installing a replacement drum:
• Change Drum Soon • Replace Drum • Drum Life End Soon • Drum LED remains illuminated • Drum LED continues flashing
The exact message or indicator will vary depending on the Brother model. For the HL-2030/2040/2070N family, Brother identifies the flashing Drum LED as an indication that the drum is nearing the end of its life.
Troubleshooting
If the drum message remains after completing the reset:
• Verify that the replacement drum is compatible with your Brother printer. • Remove and reinstall the drum and toner assembly. • Confirm that the toner cartridge is fully locked into the new drum unit. • Make sure the drum and toner assembly is properly installed. • Verify that the front cover is completely closed. • Repeat the appropriate drum reset procedure. • Make sure you are using the reset procedure for your specific printer model. • If available, test with another DR350 drum unit.
A small electrical patch containing contacts which stores information for interaction between the cartridge and the printer. Not all inkjet cartridges have a chip. Most inkjet cartridges contain a flexible ribbon (called a "flex ribbon") that contains the information for interaction with the printer.
A plastic part used to protect the contacts and nozzle plate during transportation and before use.
A cartridge that is made entirely of new components to resemble the OEM. Sometimes the cartridge only resembles the OEM on the exterior however most cases resemble the OEM both internally and externally.
A series of copper squares that makes contact and communicates with the printer.
The portion of the printer where the inkjet cartridges are installed. This device also carries the inkjet cartridges back and forth across the page creating the desired image.
Prints blue shades
Dye based inks are typically found in color cartridges; however, there are some cases where black cartridges are dye based (photo blacks are dye based). Dye based inks are not water proof or water resistant. They are available in a variety of shades which aids in the color matching to the OEM.
A cartridge that contains foam in one or more areas of the cartridge. The foam acts as a sponge holding the ink in the cartridge however adequately releasing the ink as needed when the space becomes available in the ink reservoir.
An integrated inkjet cartridge has a nozzle plate (printhead) installed on the cartridge along with an electric flexible ribbon connecting the nozzle plate to the electrical contact that interact with the printer.
Prints red shades
A non-integrated inkjet cartridge does not have a nozzle plate included on the cartridge. The nozzle plate for these types of cartridges is included in the printer. The printhead is a consumable item; in some cases, however, in others the printhead is not replaceable. In most cases the chip can be replaced on these style cartridges allowing them to respond to the printers exactly like the original.
Consists of a series of tiny holes that eject ink to form an image or text when instructed to do so by the computer through communication of the chip or flex ribbon.
Original Equipment Manufacturer; the brand new product produced by the company that produced the printer (i.e. HP, Lexmark, Dell, etc)
At times, OEM manufacturers make updates to ink cartridges and/or printer firmware that will cause printers to produce an error message that states “older generation” upon the installation of a cartridge. This firmware update requires that a customer purchase an OEM for their printer or insert a “newer generation” cartridge in order for the printer to function properly. This affects OEM as well as remanufactured cartridges. Inkjet remanufacturers are able to stay on top of these updates and begin producing the “newer generation” cartridges as soon as possible. For more information on these updates, click here for the HP 61 series or click here for the HP 950/951 series.
Lighter shades of black which allows for more color combinations and more "life-like" photographs.
Lighter shades of blue which allows for more color combinations and more "life-like" photographs [i.e. better flesh tones]
Lighter shades of red which allows for more color combinations and more "life-like" photographs [i.e. better flesh tones]
To pull ink from the foam or ink reservoir down to the nozzles preparing them for printing. This is a regular operation performed by the printer, but can also be manually performed to aid in producing an acceptable print.
A cartridge that has no foam inside and consists either of a bag/lining or a series of channels and canals. Both of these mechanisms adequately dispense the ink at the correct rate.
Pigment based inks are typically found in black cartridges; however, there are some cases where color cartridges are pigment based (some Epson, Kodak, and some wide format printer applications). Pigment based inks are water resistant and fade resistant; however, they do not come in many shades so color matching to the OEM is difficult. Pigment based inks also have a higher cost associated with them than do the dye based inks.
An inkjet spittoon is a component in inkjet printers that collects the ink that is removed from the cartridge when the inkjet is primed. This spittoon (sometimes called a reservior) can be either a plastic tray or a piece of foam that absorbs the excess ink. Some of the ink can dry (which makes the foam not absorb as well), and the ink that isn’t absorbed sits in the bottom of the printer. This is how ALL inkjet printers work, which is why it is never a good idea to move an inkjet printer as there will more than likely be ink in the bottom (especially older printers or printers that are used a lot).
A cartridge that is foam based and contains 3 different colors of ink in one cartridge. Typically these colors of ink are Cyan/Magenta/Yellow however there are photo cartridges that contain Photo Cyan/Photo Magenta/Photo Black.
* Page yield based on 5% page coverage prints.
Yield Increase
Clover Imaging extended yield remanufactured printer cartridges are designed, engineered, and manufactured to offer superior quality and performance, while surpassing the OEM’s highest page yields. Extended yield cartridges guarantee higher yields and lower cost-per-page without sacrificing density or print quality. Clover Imaging’s extended yield remanufactured printer cartridges are highly sustainable and have been GreenCircle certified as closed-loop products that contain at least 86% recycled content. For businesses looking for high-quality, sustainable printing at an affordable price, the choice is clear.
Recycled Content Certified
GreenCircle is an independent, third-party ecolabel that recognizes an organization’s commitment to reuse materials to support a circular economy and reduce their reliance on virgin materials. Clover Imaging remanufactured toner cartridges are GreenCircle-certified to contain 86% recycled content and inkjet cartridges are certified at 99%.
Low-Emissions Toner
Low-emission toners used by Clover Imaging have been pre-approved by Nordic Ecolabelling for use in Nordic Swan Ecolabel-certified remanufactured printer cartridges. These toners are specially formulated to ensure that applicable Nordic Swan Ecolabel requirements are met, including criteria placing strict limits on volatile organic compound emissions and prohibiting the presence of certain pollutants and other harmful substances.
2022 Aspire Sustainability Comparative LCA, commissioned by Clover Imaging.
Information
Information
Information
Payment Information
To use the Clover Recycling Center, you must provide a credit card which may be charged on a monthly basis to offset program costs. Charges will vary depending on the contents of your return shipments.
Thank you for your interest in Clover! Due to the robust functionality on our website, we can only support the most current web browsers. We recommend upgrading your browser to the latest version of Internet Explorer, Google Chrome or Mozilla Firefox.